You say you don't have a green thumb, or you don't have a yard for gardening? No problem! You can easily grow fresh, nutritious microgreens all year long in a sunny window in your home. All you need is soil, seeds, a container, and water.
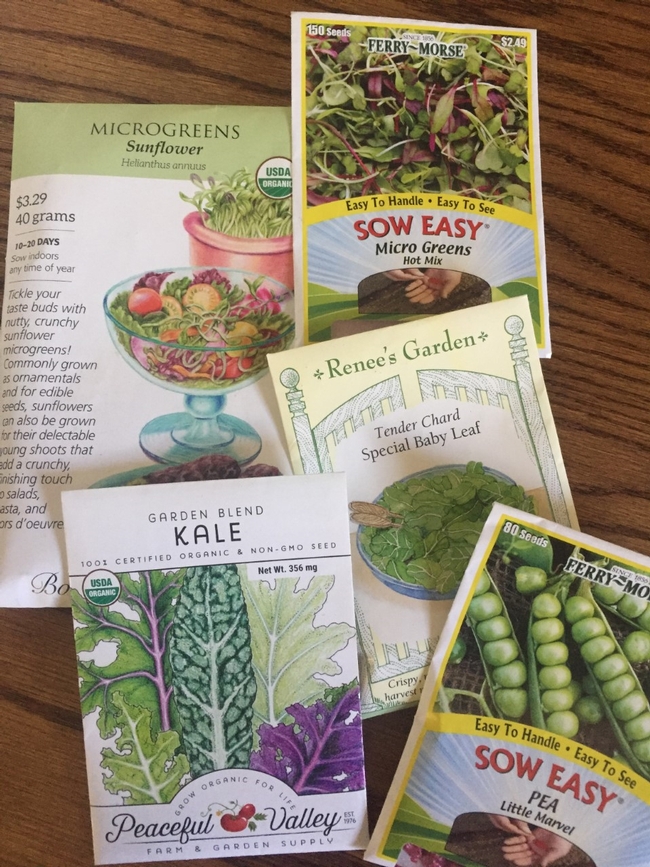
Microgreens seed packets, Kim Schwind
Microgreens are larger than sprouts and smaller than baby lettuces. They can be grown from almost any vegetable or herb seed. You can find microgreen seed packets at most nurseries and online through seed catalogues. You can use single packets of seeds or make your own mix. When mixing a variety of seeds, make sure that the germination time for each type is about the same, so they can be harvested together. That information will be on the outside of the seed packet.
Experiment to find a flavor or combination of flavors that you enjoy. Try growing some spicy herbs and vegetables like radishes, mustards, arugula, or basil. Other good options for this method of growing are beets, broccoli, kale, peas, chard, cress, and sunflowers (sunflower sprouts have a nutty flavor and crunchy texture).
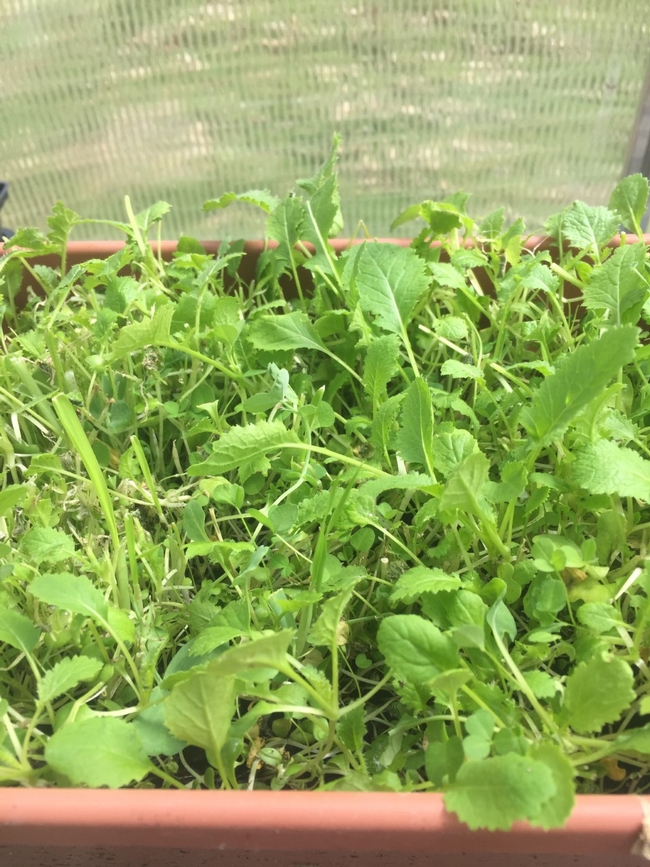
Turnips and mustard microgreens, Kim Schwind
To grow microgreens indoors start with preparing a container. Re-purpose an old plastic lettuce container or a plastic ‘flat' that came from the garden center. Kits that include a container, a soil mix, and seed are available online. Whatever you use for a container, make sure it has drainage holes and a soil mix that drains well. If you are using a plastic ‘flat' cover the bottom with burlap or weed cloth. Choose a soil mix or seed starting mix that is labeled organic or free of chemicals. The microgreens will draw most of their nutrition from the soil and water. Their green leaves manufacture carbohydrates using sunlight and carbon dioxide from the air.
Fill the container with moistened soil mix to within one inch from the top. Sprinkle seeds generously over the entire area. Cover very lightly with soil and use a spray bottle to moisten the top. You want to moisten, but not drench, the soil. Place the container in a sunny window.
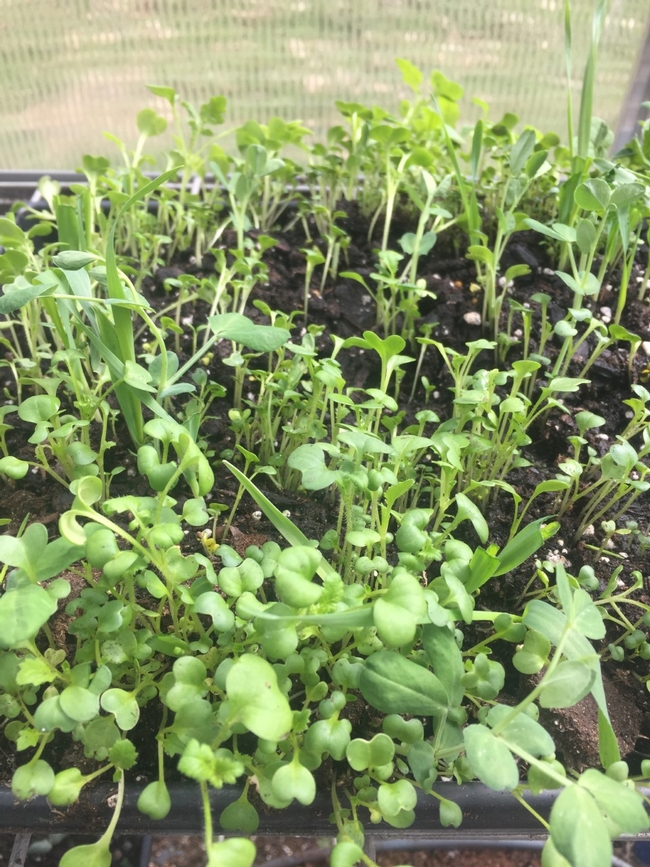
Microgreens growing, Kim Schwind
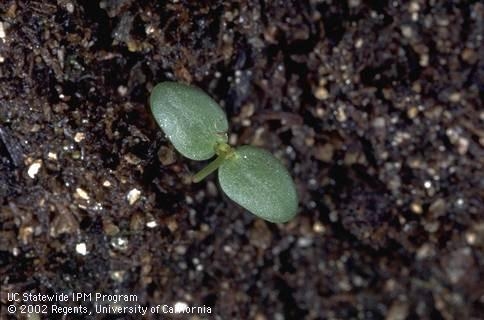
Vetch at cotyledon stage, UC, ANR
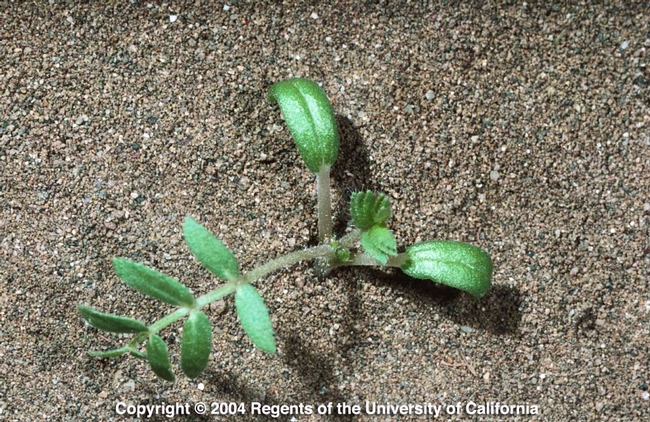
Puncturevine with true leaves, UC ANR
Growing microgreens is a simple way to add fresh, nutritious produce to your diet. They taste great and have a quick turn-around time. If you have children at home this is a fun project to do together. You can introduce the kids to the satisfaction of growing some of their own food and the fun of experimenting with their microgreens in everyday dishes.
Salad with microgreens, Kim Schwind
