I recently attended a 4-hour workshop on homegrown/backyard mushroom cultivation organized by Biofuel Oasis in Berkeley, California. Patty and Ray Lanier of Mushroom Maestros located in both Oakland and in Lake County, California, were the featured speakers of this seminar.
The workshop began with a Powerpoint presentation on a brief history and folklore of the mushroom, the life cycle of a mushroom, and how mushrooms play a part in our ecological system. After the Powerpoint presentation, Patty and Ray led the group through some hands-on projects, which is the focus of this blog entry.
I was surprised to learn how easy it was/is to cultivate some varieties of mushrooms at home, specifically, the oyster mushroom and wine cap mushroom (king stropharia). Below are instructions on how to cultivate oyster mushrooms at home. Cultivating wine cap mushrooms is even easier and will be discussed in one of my upcoming blog entries.
Oyster Mushroom
Oyster mushrooms are aggressive and eager to grow.
Materials needed:
1. Large pot (e.g., a canning pot)
2. Large colander
3. Large mesh bag (e.g, an onion bag from the supermarket)
4. 1 bag of mushroom innoculent (can be bought on-line)
5. 1 cylindrical plastic bag (e.g., the plastic bags that newspapers come in or a large plastic bread bag)
6. 1 bag/jar of mushroom grain spawn (can be purchased easily on-line)
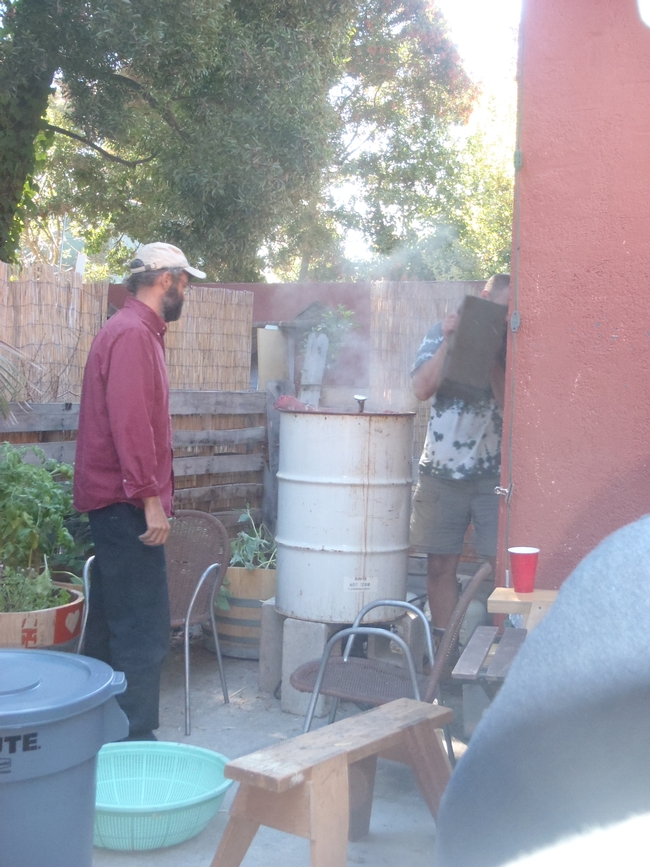
Step 1: Pasteurize (not sterilize) clean wheat straw (note: not hay, but straw) which you can purchase inexpensively from a well-stocked feed store, in 150 - 180 F degree heat for 45 - 60 minutes. It may help to place the wheat straw in a mesh bag like an onion bag, to keep the straw together.
Step 2: After you have pasteurized the straw, let it dry by placing it in a colander.
Step 3: Sterilize all work surfaces, tools, your hands, etc., with rubbing alcohol. Empty the mesh bag of its straw contents and spread the straw (straw should be warm to the touch) onto a sterilized surface so that so that the straw layer is 2-3 inches thick.
Step 4: Take handfuls of the mushroom grain spawn and toss it onto the straw until the grains dot the surface of the straw. Work the grain spawn into the straw.
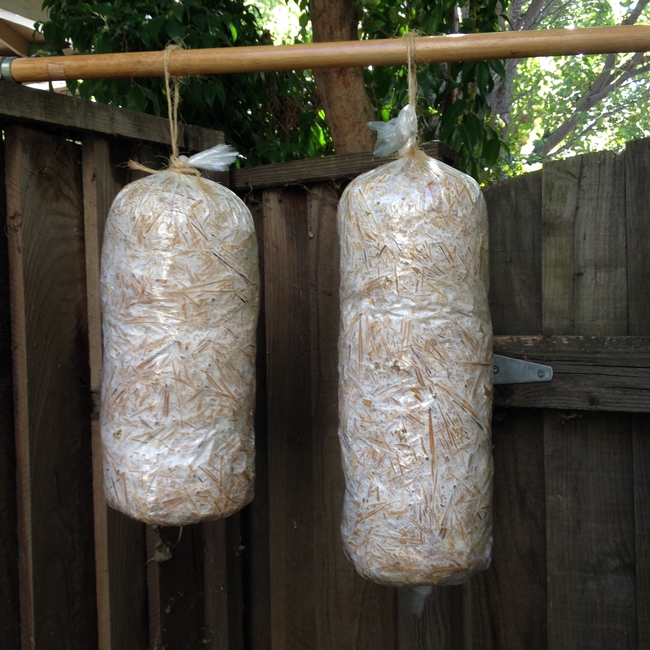
Step 5: Stuff the straw into your cylindrical plastic bag, compressing the straw enough so that the bag is firmly (but not overly) packed. Tie the bag off.
Step 6: Take a nail or a sharp pair of scissors and pierce the bag, making random 1-inch cuts all over the bag, but not to the point where the straw begins to fall out. This is to aerate the bag while keeping a moist environment for the spawn. Wipe the bag down with alcohol to keep it sterile.
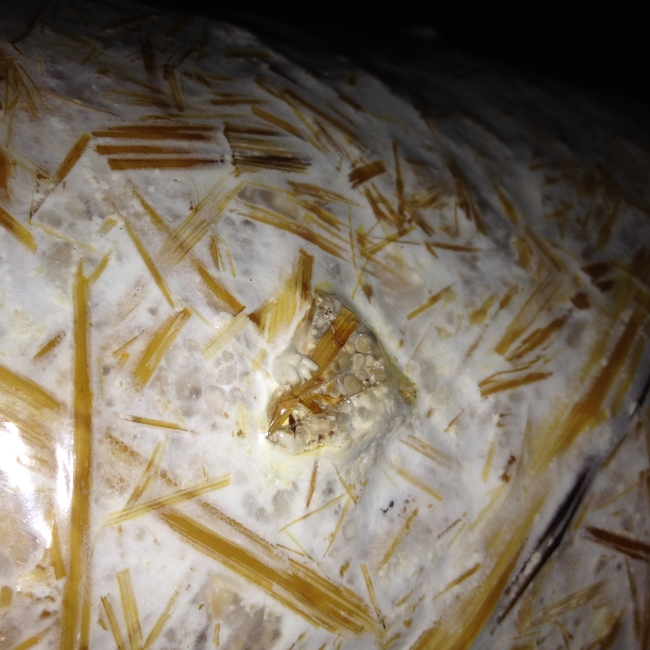
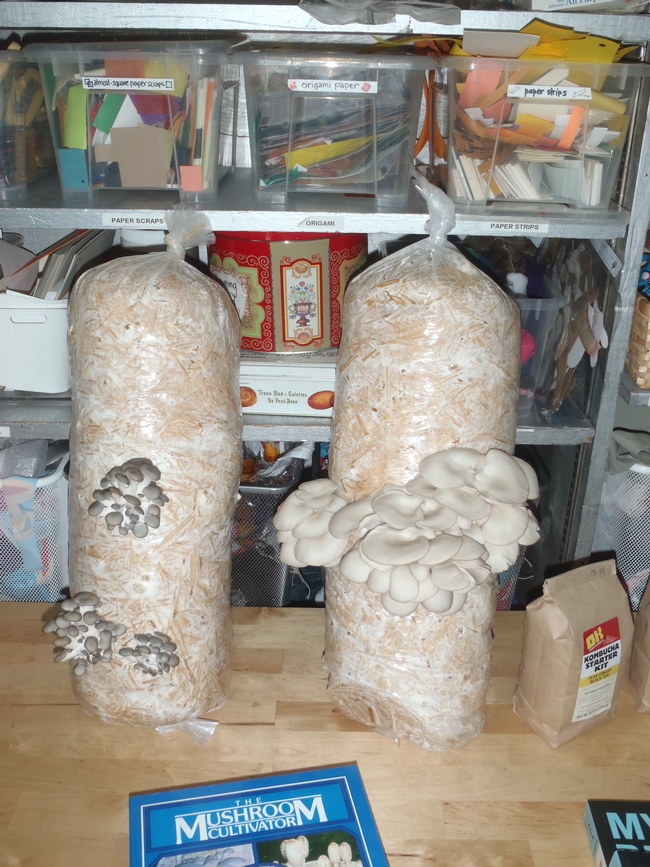
Step 7: Place the bag in a shady area indoors (i.e., does not receive direct sunlight) in an area where the temperature is kept between 60 – 75 degrees. Keep the bag moist but not damp, by spraying with a spray bottle filled with water. You should see signs of oyster mushrooms in 2 weeks (the log will turn white), at which time, you can either keep the bag indoors or locate it in a shady part of your yard, protected from the wind and sun and heat. When the caps of mushrooms flatten out, it is time to harvest. Don't wait too long, as the mushrooms can grow past its prime in just 1 day.
For more information on either Biofuel Oasis or Mushroom Maestros, please see www.biofueloasis.com and http://www.mushroommaestros.com/, respectively.


