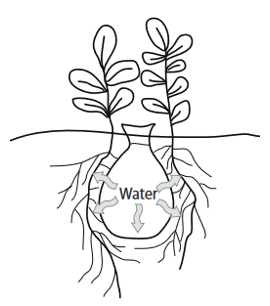

The effectiveness of olla irrigation lies in the interaction between soil moisture and the plant's roots. This dynamic creates a unique suction force, where the plant's roots 'pull' the water out of the olla if the soil is dry. Conversely, if the soil is wet from rainfall or surface watering, the water remains in the olla until the surrounding soil dries, ensuring a balanced and efficient watering system.
Implementing olla irrigation is not just about watering your plants; it's about fostering deep watering and dense root growth. This, in turn, enhances nutrient and water uptake, leading to healthier plants. Additionally, the controlled moisture levels prevent the extremes of wet and dry that can cause bitterness in greens and cracks in tomatoes and melons. As a bonus, the relatively dry soil surface acts as a natural deterrent to weeds and some unwanted insects, further enhancing the health of your garden.
Crops with fibrous root systems, such as tomatoes, squash, melons, and chiles, respond well to olla use. When using ollas with plants with shallow root systems, consider the shape and size of the olla and where the water will be in the soil. You can also use ollas with young perennial landscape plants (trees, vines, and shrubs.) Plants with woody roots might break an olla. If you notice that you are having to fill the pot more frequently, consider that a crack has formed in the olla.
Ollas are inefficient for densely planted annual crops due to the number of ollas necessary for even coverage.
Tips for using ollas
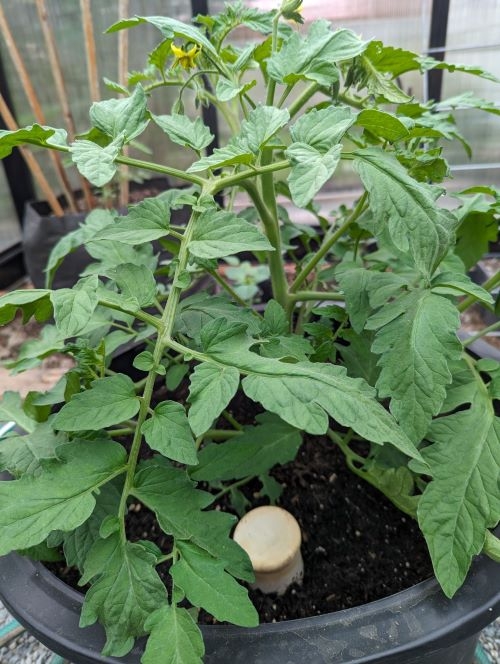
- Bury the olla, leaving 1 – 2 inches above the soil surface to keep dirt and mulch from getting inside. Gently pack the soil around the olla to prevent air pockets. Air pockets will prevent water from moving into the soil and keep roots from growing.
- To maximize impact, place ollas every 2 – 3 feet in the garden. Larger ollas, with a 2 or more-gallon capacity, can be placed up to 3 – 4 feet apart.
- If your soilis very deep, place a saucer or drainage tray under the olla at the bottom of the hole. This will promote water seepage outwards instead of downwards.
- Check the water level frequently and refill as necessary. Soil type, plant density, and weather can influence how often you need to refill. Refill times can vary from every seven days or more or as frequently as every other day.
- Cover the olla opening with a lid, rock, or plate to minimize evaporation and prevent mosquito breeding.
- Ollas are best suited for coarse-textured and/or sandy soil. Soil with a high clay content does not dissipate water well.
- When planting seeds, plant a few inches away from the olla opening. Water the entire planting area. If your olla isn't keeping the top 2 inches of soil moist, you may need to surface water until the seeds germinate.
- Know where your ollas are buried. Mark them with rocks, a pin flag, or something else to prevent someone from stepping on the olla.
- If you live in an area with hard freezes, dig up your olla each winter to prevent cracking underground.
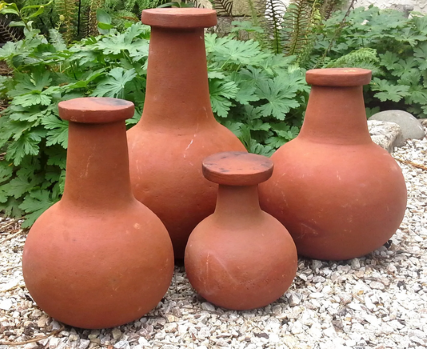
Several types of ollas are available for purchase at garden shops, online, or from your local potter. There are several methods for making your own from clay or terracotta pots. Consider your space, the cost, how many ollas you will need, and how often you are willing to refill them. If you would like to make an olla from terracotta flower pots, click here.

Resources
How to use olla irrigation
https://wateruseitwisely.com/blog/olla-irrigation/
Olla Irrigation
https://images.nativeseeds.org/pdfs/Ollairrigationhandout.pdf
University of Arizona, Irrigating with Ollas
https://extension.arizona.edu/sites/extension.arizona.edu/files/pubs/az1911-2021.pdf